
Miking a guitar amp is a musician’s way of capturing the amp’s true tone. They do this because they want it to amplify through the PA system to make it sound better and more audible.
If you’re a beginner, learning how to mic a guitar amp can be frustrating. But don’t worry, this can be a quick fix once you get the hang of it. To help you, below is a step-by-step guide and tips to achieve this.
Table of Contents
Microphone to Guitar Amp: A Step-by-Step Guide
Step 1: Choosing the right microphone
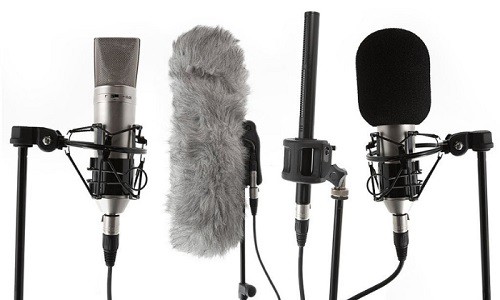
Choosing the right microphone can make a big difference in your sound performance, especially if you want to mic a bass amp.
For example, using a Shure amp mic like the dynamic Shure SM57 can boost your tone’s clarity because it can handle high and loud volumes.
For a cleaner and more realistic sound, choose a condenser microphone such as the Neumann TLM 102. This mic is better for live sounds and more sensitive than a dynamic one, making it the most-used device in radio stations, recording studios, film and TV productions, and live events.
You can always mix and combine different mics if you’re looking for an exact sound. Just take note of the phase issues due to their distances and polar patterns.
Step 2: Positioning the microphone
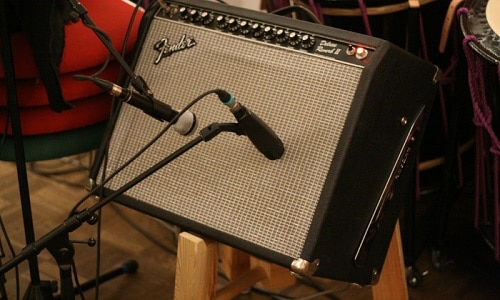
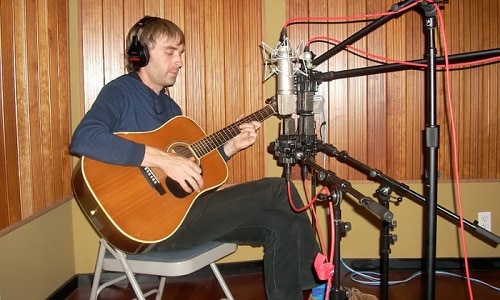
As a beginner, placing one mic on the speaker cabinet is the easiest and can deliver fine results. The mic distance should be 1 – 3 inches from the grill and placed in front of the speaker cone. This is called close-miking.
With 2 mics, you can create another killer tone. You need one mic placed at 90 degrees for the speaker tone and another at 30 to 45 degrees for the cone. This mic placement is a bit complex and reserved for more experienced musicians.
If you want to experiment, you need to consider your mic’s distance, height, and angle. A single-inch push, a 90-degree tilt, and close contact with the speaker’s center can already offer different sound textures.
Step 3: Connecting and adjusting the preamp
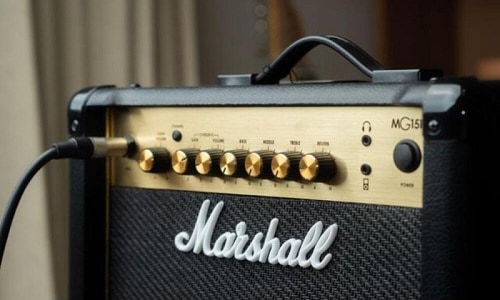
A preamplifier or preamp can change and provide a more colorful tone to your home recordings. Connecting your mic to it allows you to adjust its settings to get a clear sound without distortion.
To perfect this and get the precise sound, you need to listen to the recording amp via your headphones and adjust accordingly. This can be easy as most devices have signals, so pay attention to anything flashing red.
Step 4: Testing and recording your sound
Once you connect mic to amp with its correct position, now is the time for sound testing. Pay close attention to the levels, whether they’re too high or not, as these can cause distortion or clipping.
Your goal here is to adjust your mic’s position, gain, and acoustic guitar or electric guitar amp settings to get the cleanest and the best sound possible before you record your final song.
You must clearly listen to your test recording for any slight change or distortion because your mic can still capture something a bit different. This step can be the trickiest because you need to go back to the previous steps and try multiple microphone techniques.
Conclusion
Following these steps to learn how to mic a guitar amp would easily help you navigate through your musical journey with testing and recording. Miking for your guitar amplifier has never been this easy! So, get the hang of this and enjoy the creative process of making music!
Sam Stephenson is a writer who grew up in Washington, North Carolina. He was 2010 and 2015 ASCAP Deems Taylor / Virgil Thomson Prize winner and a 2019-2020 Guggenheim Fellow in General Nonfiction. His books have been published by W.W. Norton, Alfred A. Knopf, and Farrar, Straus and Giroux